

First Time Robotic Mower Setup Tips for a Smooth Install
Setting up a robotic mower for the first time takes about 2-3 hours for a typical quarter-acre yard, and most of that time goes to laying the boundary wire, not the mower itself. You’ll install a charging dock, run wire around your lawn’s edge and any flower beds, then let the mower map the area on its first run.
The wire decides everything. If it sits too close to a wall, the mower bumps and turns constantly and leaves strips uncut. Measure from the lawn edge using the gap your manual states, usually 10-14 inches from a wall and 12 inches from a drop.
Before you start, walk the lawn and pick up stones, toys, pinecones and fallen branches. A small rock thrown by the blades can crack a window or hit a person. Also check for holes, exposed roots and sprinkler heads. Mark anything the mower should avoid with a wire loop or a magnetic strip if your model supports it.
Laying out the boundary wire and dock
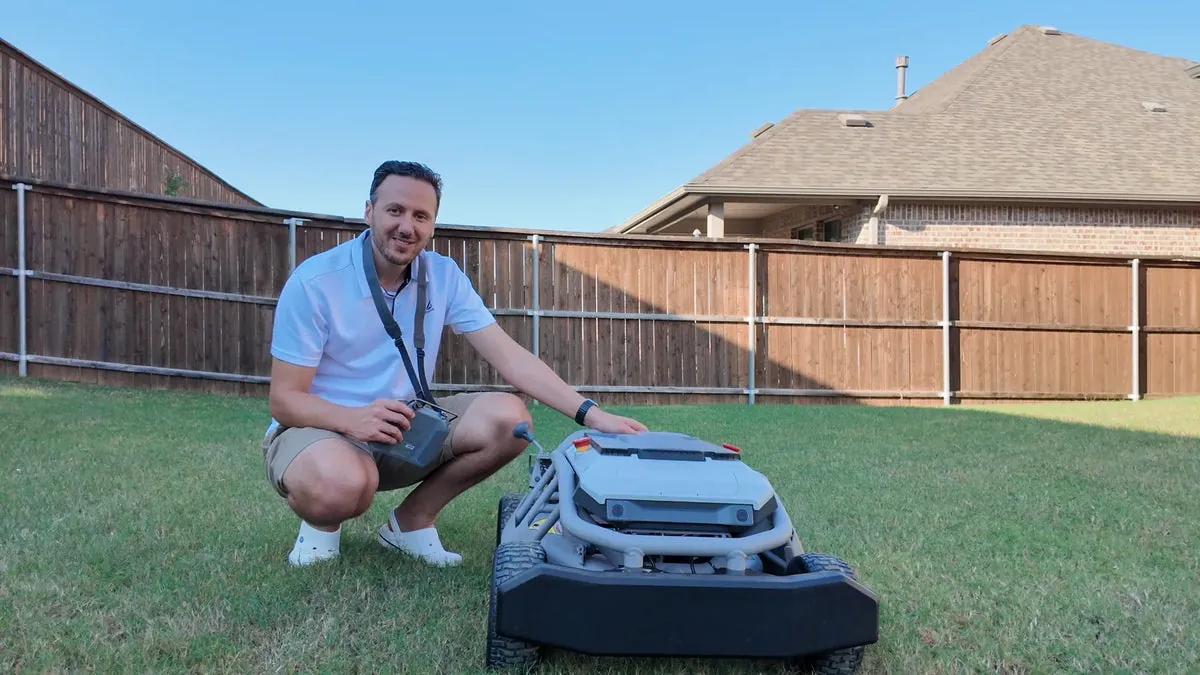
- Place the charging dock first. Pick a spot on flat ground, in shade if possible, near a power outlet. Leave 3 feet of clear space in front and 3 feet on each side so the mower can dock cleanly. Set the dock level — a tilted dock causes failed returns.
- Plan the wire route on paper. Sketch your lawn and mark every obstacle: trees, beds, ponds, swings. A single loop that covers the whole lawn is simpler than multiple zones, and it’s easier to troubleshoot later.
- Run the wire around the perimeter. Peg it down every 2-3 feet on straight runs and every 1 foot on corners. Keep the wire at the gap your manual states — commonly 10-14 inches from walls and 12 inches from flower beds. Bury it 1-2 inches deep in areas where you walk or mow with a push mower.
- Create islands for obstacles. For trees and beds inside the lawn, run the wire out, around the obstacle, and back along the same path. Leave 2-3 inches between the two wires so they cancel each other’s signal. This stops the mower entering the island.
- Connect the wire to the dock and power up. Strip about half an inch of insulation, insert the ends into the dock terminals, and switch on the power supply. The dock light should turn green or blue — check your manual for the color code. A red or flashing light means a broken wire or a bad connection.
- Set the mower’s schedule and cutting height. Start at the highest cut setting for the first two weeks, then lower it one notch per week until you reach your target height. Run the mower daily rather than twice a week — short, frequent cuts give a healthier lawn.
- Do a supervised first run. Watch the full cycle once. Check that the mower follows the wire, enters islands correctly, and returns to the dock. Fix any wire problems now, before you leave it alone.
Tip: Never splice a cut wire with tape alone. Use the waterproof connectors that came with your kit, or the joint will fail after the first rain.
Tip: If your lawn has a slope steeper than the limit in your manual — often around 35% or 20 degrees — the mower will slip.
How long first-time robotic mower setup really takes
Setup time depends on lawn size, shape and obstacles. A yard with beds, a pond, a narrow side path and a swing set takes much longer, because every obstacle needs its own wire loop.
| Situation | How long | What changes it | What to watch for |
|---|---|---|---|
| Small flat lawn, under 0.15 acre, no obstacles | 1-1.5 hours | Dock placement, wire length | Wire too close to walls |
| Average yard, 0.25 acre, a few beds | 2-3 hours | Number of islands, buried sections | Splicing mistakes |
| Large or complex yard, 0.5 acre or more | 4-6 hours, may need 2 days | Multiple zones, slopes, narrow gaps | Signal loss on long loops |
| Yard with a guide wire to a far zone | Add 1 hour | Guide wire routing | Guide wire angle at the dock |
| Re-doing a wire after a bad first attempt | 1-2 hours extra | Digging up old wire | Damaged wire from garden tools |
If setup is taking far longer than the table suggests, stop and check the wire for breaks with a multimeter or your dock’s fault light.
Signs your robotic mower setup is working

You’ll know the setup is right when the mower leaves the dock on schedule, follows the wire smoothly, cuts the whole lawn within two or three days, and docks on its own.
Listen as it passes. A steady hum means the blades are spinning freely.
The one test that settles it: let the mower run for a full week without touching it. If it docks every time and the lawn looks even, your wire is correct.
Mistakes that spoil a first setup
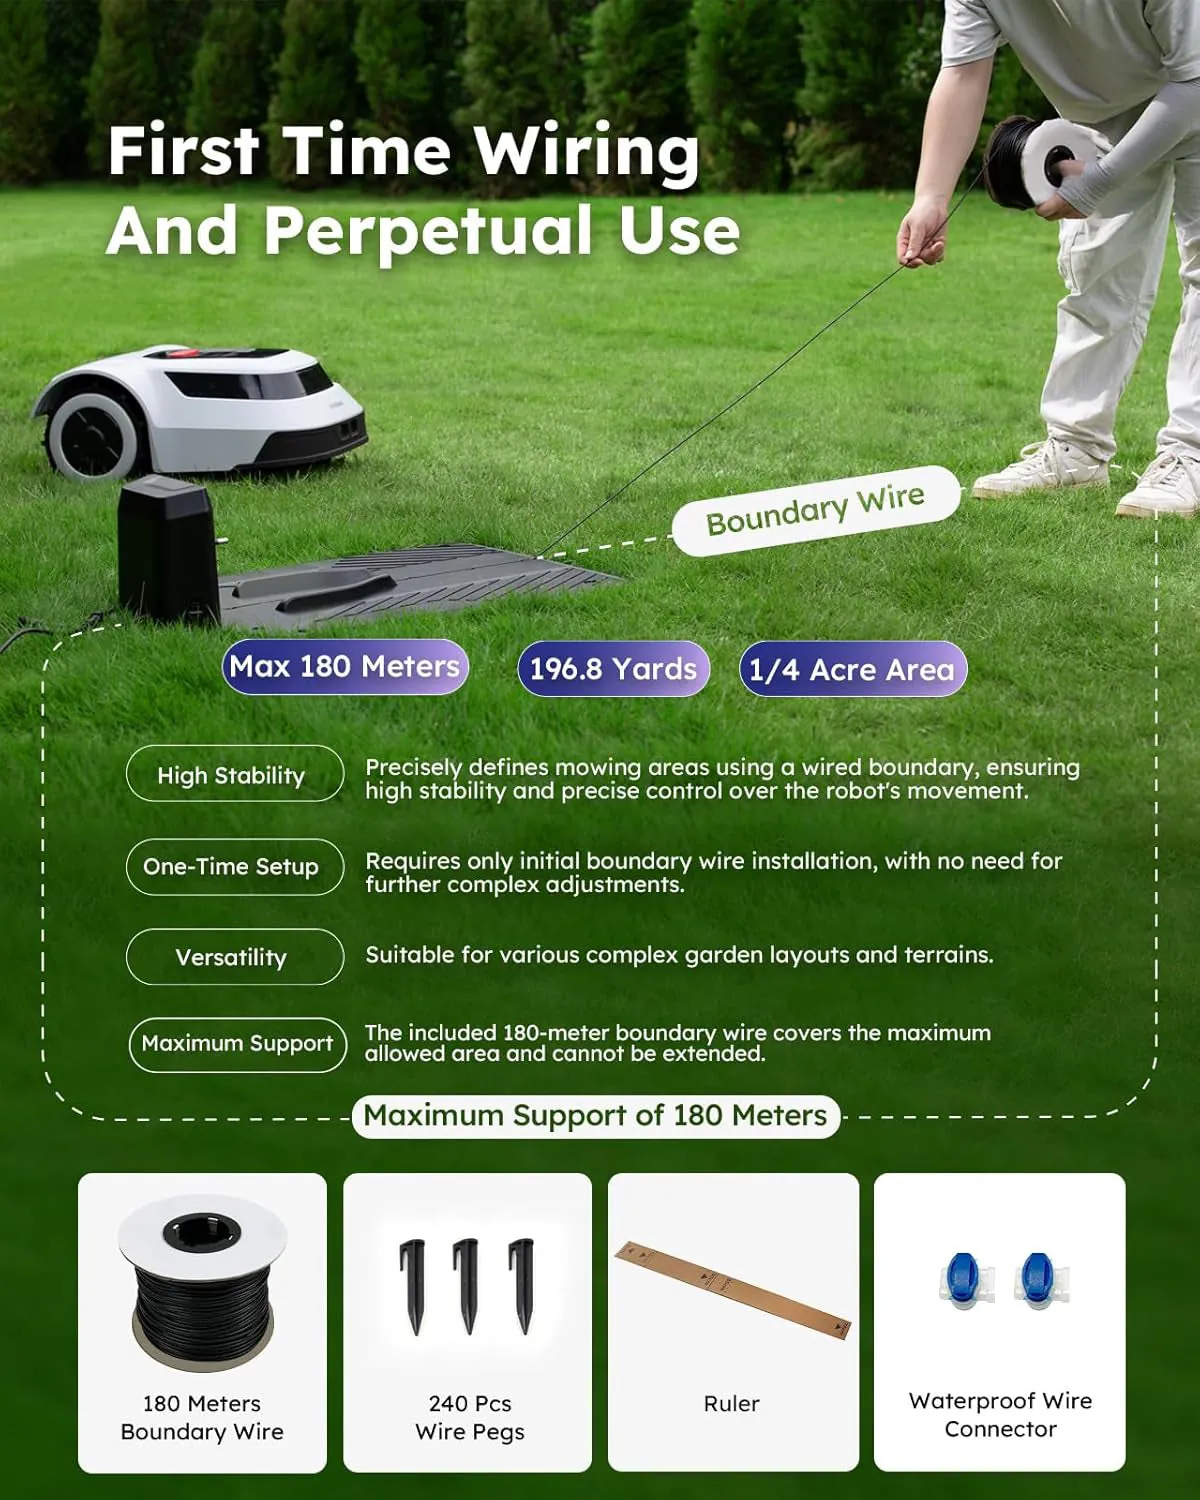
- Running the wire too close to walls. The mower bumps and turns constantly, wears its bumper, and leaves an uncut strip. Move the wire out to the gap your manual states — usually 10-14 inches.
- Skipping the island loops. Trees and beds inside the lawn get climbed, and the mower can get stuck or damage plants. Always run a loop out and back, with 2-3 inches between the wires.
- Cutting the wire with a lawn edger or spade. This is the most common cause of a dead loop, and it usually happens weeks after setup when you forget where the wire runs. Sketch the route and keep the drawing.
- Starting at the lowest cut height. Scalping the lawn in week one shocks the grass and exposes the soil. Start high and lower it one notch per week.
- Leaving the mower out in heavy rain or freezing weather. Most models are rain-resistant, not waterproof, and cold damages the battery. Check your manual for the storage temperature range.
Related guides
- Best Power Planers: Top Picks for Smooth Woodworking
- Best Cordless Sanders: Top Picks for Smooth, Easy Sanding
- Best Jointers 2026: Top Picks for Smooth, Accurate Woodworking
Frequently asked questions
How long does a robotic mower take to set up?
Plan on 2-3 hours for a typical quarter-acre yard with a few obstacles. A large or complex yard with slopes, multiple zones and many islands can take 4-6 hours, and you may want to split it over two days.
Can I install a robotic mower without professional help?
Yes, most homeowners install the boundary wire themselves. You’ll need a hammer or mallet for the pegs, a wire stripper, and a spade if you want to bury sections. Call a pro only if your lawn has steep slopes, a pond, or you don’t want to dig.
Why does my robotic mower keep stopping in the same spot?
A stop in the same place almost always means a wire problem there — a nick, a loose peg, or a splice that’s failed. Check the dock’s fault light and walk that section of wire. A tight corner or a sharp bend can also confuse the signal, so smooth out any kinks.
Is it safe to let a robotic mower run while kids or pets are outside?
No. Robotic mower blades spin fast and can cause serious injury. Run it when children and pets are indoors, and set the PIN code so nobody can pick it up and start it. Most models stop the blades when lifted, but you shouldn’t rely on that alone.
How often should I run my robotic mower?
Daily is best for a healthy lawn, especially in the growing season. Short daily cuts keep clippings small enough to break down into the soil. In slow-growth months, drop to every other day or every two days. Check your model’s recommended schedule for your grass type.
What happens if the boundary wire breaks?
The mower stops at the break point or fails to leave the dock, and the dock light turns red or flashes. Find the break with a wire tracker or by testing sections with a multimeter. Cut out the damaged part, join the wires with a waterproof connector, and seal it.
Do I need to bury the boundary wire?
No, you can peg it on the surface. Burying it 1-2 inches deep protects it from your edger and from foot traffic, and it looks neater. Bury only the sections you walk on or trim near. Leave the rest pegged, so you can move it if you change your lawn layout.
Conclusion
Setting up a robotic mower the first time is mostly wire work, and the wire is what you’ll live with for years. Take the extra hour to measure your gaps, plan your islands, and test the loop before you trust it. Get that part right, and the mower quietly does the rest while you do something else.

Daniel Carter is a home improvement specialist and tool researcher with years of experience studying power tools, hand tools, workshop equipment, outdoor gear, and DIY projects. At HomeToolWorld, he researches products, compares features, reviews manufacturer specifications, and creates practical buying guides to help homeowners, DIY enthusiasts, and professionals make informed decisions. His goal is to provide accurate, easy-to-understand, and trustworthy content based on careful research and real-world applications.